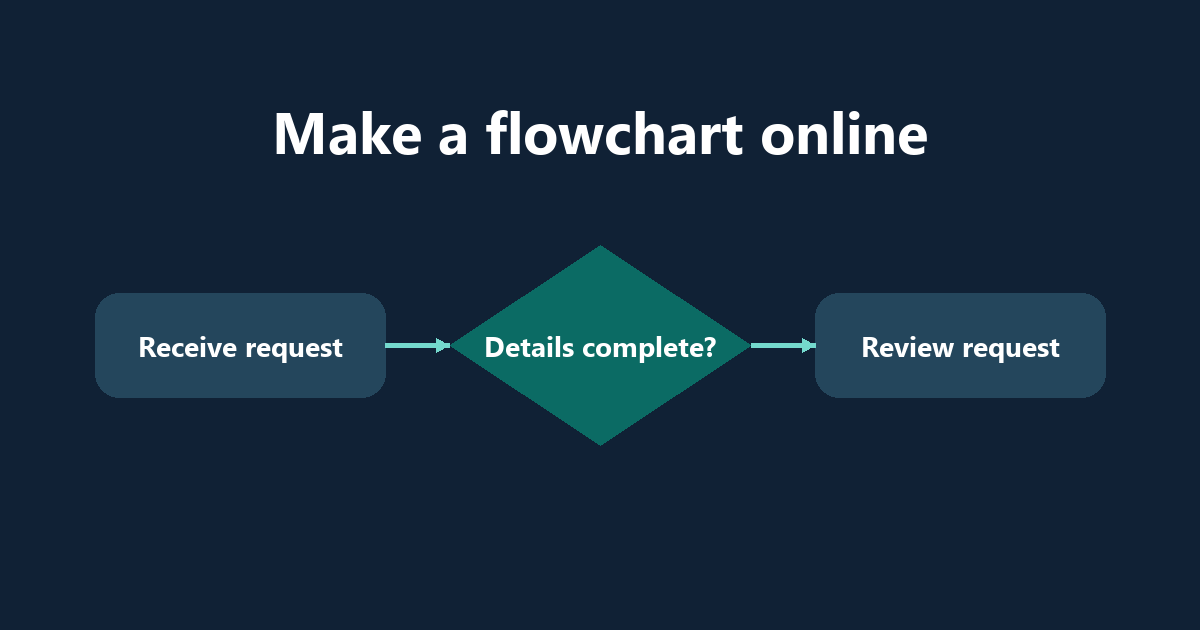
To make a flowchart online, open draw.io, start a blank diagram and connect each step in the order it happens. Save a .drawio file for future edits and export a PNG for documents or slides.
Make a flowchart online in five steps
- Start a blank diagram. Choose device storage if you want to work with a local file.
- Add a rounded Start shape and a rectangle labeled Receive request. Connect them with an arrow.
- Add a diamond labeled Details complete?. Connect the request box to the diamond.
- Label the two outgoing arrows Yes and No. Send Yes to Review request. Send No to Ask for details, then draw a return arrow to Receive request.
- Walk a complete request and an incomplete request through the diagram. If either path leaves a reader guessing where to go, add the missing arrow or label.
For a simple process, one question per diamond is usually enough. A question such as “Are the details complete and approved?” hides two decisions and makes the No path ambiguous.
Save a working copy and export a PNG
Save the editable source as a .drawio file. For a document or slide, use File ? Export As ? PNG. Open the exported image at the size readers will see it and check the labels. If they are blurry, increase the export zoom or place fewer steps on one page.
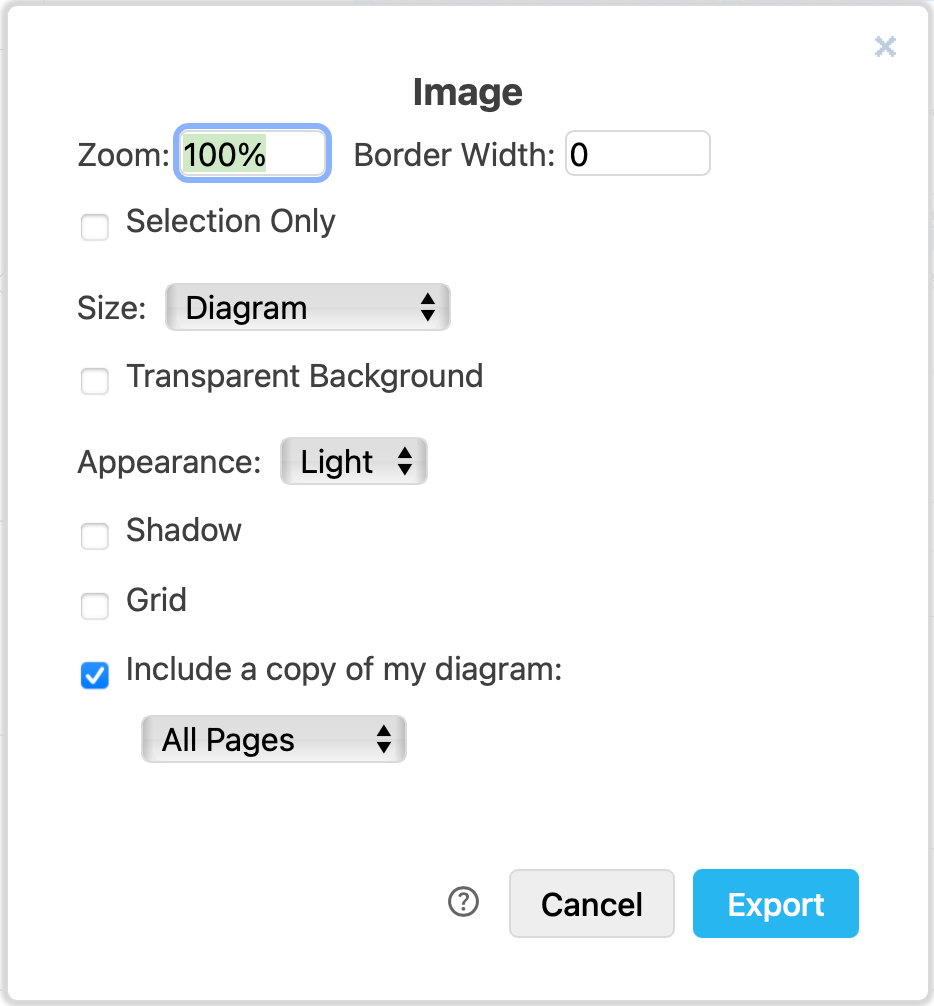
For an editable PNG, use Include a copy of my diagram. For a visual-only handoff, clear that option and send the PNG separately from the source. Check before sharing diagrams with internal notes. See the official PNG export instructions.
Try the flowchart with a real exception
Use a local source file if you work alone and want straightforward versioned copies. If several people need to edit simultaneously, choose an approved shared workspace and test a handoff with a sample diagram first. For related work, browse Software Guides or see the guide to no-code automation tools when you are ready to turn a documented process into an automation.
Before exporting, ask someone unfamiliar with the process to follow both branches. If they stop at a box such as “review,” add who reviews the request or where it goes next. For a diagram that will live in a support article, export a copy at the intended display size and keep a short text explanation of the decision paths beside the image.
Say the reviewer is away and the approval has a deadline. Trace that request through the diagram and check that a named backup can act without skipping the approval. If a request can be rejected outright, show where it stops and who tells the requester. Before you make a flowchart online for a shared process, agree on those exceptions with the people who handle them. Keep the editable diagram with the team, and open the exported PNG at its intended size to check that the decision labels are still readable.
Check the flowchart before sharing it
Give a colleague two sample requests. In one, the request has all the details. In the other, the reviewer needs more information. Ask the colleague to trace each path without your help. If they cannot tell where to go next, label the connector or rename the step. For recurring work, note who owns the action in each box so the chart can also guide a handoff.
Our take: Keep a source file even if the only thing you share today is a PNG. An editable copy is much easier to maintain when the approval rules change. This walkthrough uses official documentation and an illustrative approval process.