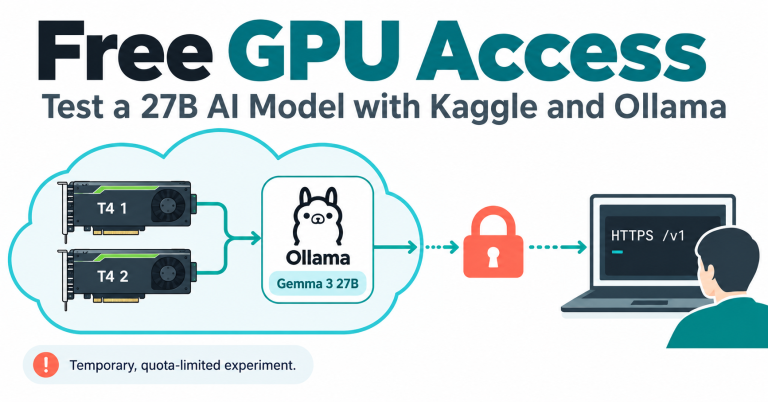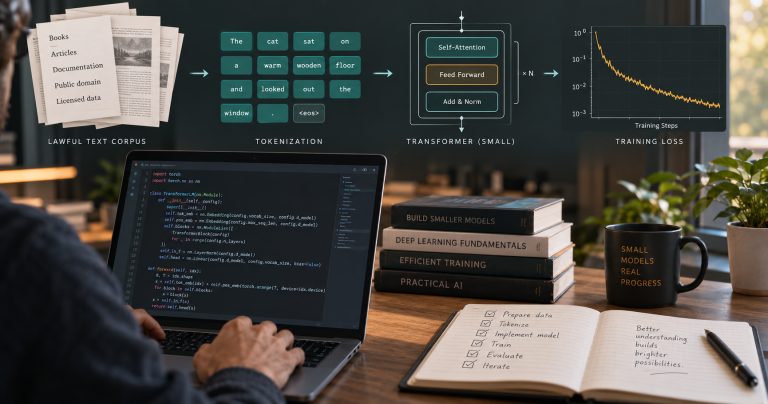
AirLLM setup lets you experiment with a local large language model when GPU memory is the obstacle. AirLLM is a Python library that moves model layers between storage and the GPU during inference. You run downloaded weights rather than sending each prompt to a paid model API. The tradeoff is important: less VRAM does not mean less total storage, instant answers or ownership of the model’s intellectual property.
Quick Answer
For your first AirLLM setup, use a Linux machine with an NVIDIA GPU, a separate Python environment and a small, official model such as Qwen/Qwen2.5-1.5B-Instruct. Check CUDA before downloading weights, keep the first answer short and measure the result. Only move to a 70B model after checking its license, checkpoint size, free SSD space and acceptable response time.
The project’s README advertises 70B inference with a 4GB GPU. That is a project claim about a memory-saving approach, not a guarantee that every 4GB computer will deliver usable chat speed. This guide explains how to evaluate the tradeoff rather than promising a free replacement for a production AI service.
What to Know Before Your AirLLM Setup
The walkthrough below targets Linux and NVIDIA CUDA. Windows users can consider a supported WSL2 CUDA environment; native Windows compatibility needs its own validation. Apple Silicon uses a separate MLX path, so do not copy the CUDA script below onto a Mac. Check the project’s Mac instructions separately.
- Python: Python 3.11 is a conservative starting choice for this recipe, not an official universal minimum. Use versions supported by the PyTorch build you select.
- GPU: record the model, driver and free VRAM. Context, activations and other workloads still consume memory.
- Storage: use a fast local SSD with room for the original checkpoint, split layer files and working space. An almost-full system drive is a poor place to begin.
- RAM: leave headroom for checkpoint splitting and host-side loading. There is no single RAM requirement for all model sizes; monitor the actual process.
- Internet: installing dependencies and downloading weights initially require connectivity. Local inference is not proof that every dependency avoids network access.
- Costs: AirLLM’s code has no per-token API bill, but electricity, SSD capacity, your computer and any rented machine are not free.
On 14 October 2026, PyPI listed AirLLM 4.0.0. Its package metadata requires PyTorch 2.4 or newer and Transformers from 4.49 up to, but not including, 6. This guide pins AirLLM itself; model-specific dependencies can still differ. It is a documentation-based recipe, not a claim that this exact stack has passed a GPU test at Techmixer.
What Does Running Your Own LLM Actually Give You?
Running a model yourself gives you control of its execution environment, not exclusive ownership of its weights. AirLLM is distributed under Apache 2.0. Each model has separate terms. Qwen’s starter model and Meta’s Llama family do not automatically have the same permissions; read the model card and license before using either commercially.
There are useful reasons to try a local workflow. You can keep a fixed model revision for repeatable experiments, avoid a hosted inference provider’s per-request charges, choose when the machine runs and work with files that you do not want to paste into a web chat. None of those advantages removes the need to secure the computer, review generated answers or account for maintenance.
For example, a student could use public sample notes to compare two short explanations of the same concept. A developer could evaluate whether a downloaded model follows a particular output format. Both experiments have a measurable goal. Buying a large SSD merely because a repository mentions an enormous model does not.
If your aim is to understand the surrounding skills, start with Techmixer’s AI engineering learning guide. If you want to change a model’s weights, our LLM training and data-preparation guide covers a different task from the inference recipe here.
Step 1: Check the GPU and Plan Your SSD Space
Open a Linux terminal and run these checks before installing anything:
nvidia-smi
df -h .
free -h
python3 --version
Expected result: the GPU command shows the NVIDIA device and driver; the remaining commands show free disk space, system RAM and Python version. If the GPU is missing, stop and follow your operating system’s supported driver instructions. Do not download a large checkpoint hoping it will fix CUDA.
Storage planning example, not a measured minimum: 70 billion parameters at two bytes each is roughly 140GB of weight data, before other files. If an uncompressed layer copy is kept alongside those weights, the two copies alone approach 280GB. Free space must also cover temporary work, caches and the operating system. Actual checkpoint formats differ, so read the files for the exact model rather than treating this estimate as a shopping recommendation.
| Planning item | Small first experiment | Before a 70B experiment |
|---|---|---|
| Checkpoint | Read the 1.5B model’s listed files | Inspect the exact model revision and weight format |
| Extra storage | Allow for original and split weights | Budget both copies plus temporary files and headroom |
| Memory | Watch one short request | Measure RAM and VRAM during splitting and inference |
| Speed | Establish a baseline | Decide how long a useful answer may take |
AirLLM’s checkpoint-handling code is relevant to storage planning. Do not turn on delete_original=True for the first run: it deliberately removes original checkpoint files during processing. Understand the cache layout and recovery implications before considering that option.
Step 2: Create an Isolated Python Environment
Use a fresh project directory so dependency experiments do not disturb your other AI tools:
mkdir -p ~/airllm-lab
cd ~/airllm-lab
python3 -m venv .venv
source .venv/bin/activate
python -m pip install --upgrade pip
Your terminal should now use the environment’s Python. Confirm it with which python. If venv is unavailable, install the matching virtual-environment package through your distribution’s official package manager first. Avoid using sudo pip to force the installation into system Python.
A code editor makes the next steps easier. Techmixer’s VS Code setup guide for Linux and macOS explains that part of the workflow.
Step 3: Install PyTorch and Verify CUDA
Use the official PyTorch installation selector to choose Linux, Pip, Python and a CUDA build supported by your driver. Run the selector’s command inside the activated environment. A generic CPU-only installation is not enough for this NVIDIA walkthrough.
Then run:
python -c "import torch; print('Torch:', torch.__version__); print('CUDA:', torch.cuda.is_available()); print('GPU:', torch.cuda.get_device_name(0) if torch.cuda.is_available() else 'unavailable')"Continue only when CUDA reports True and the expected GPU name appears. If it reports False, check which Python is active, the installed wheel and driver compatibility. Do not stack unrelated CUDA packages or replace drivers without understanding the mismatch.
Step 4: Install AirLLM and Check Its Dependencies
Install the release reviewed for this article and verify that its dependencies agree:
python -m pip install "airllm==4.0.0"
python -m pip check
python -c "from importlib.metadata import version; print('AirLLM:', version('airllm')); from airllm import AutoModel; print('Import OK')"
Expected result: the version is 4.0.0, dependency checking reports no broken requirements and the import completes. Recheck CUDA after installation in case dependency resolution changed your PyTorch installation.
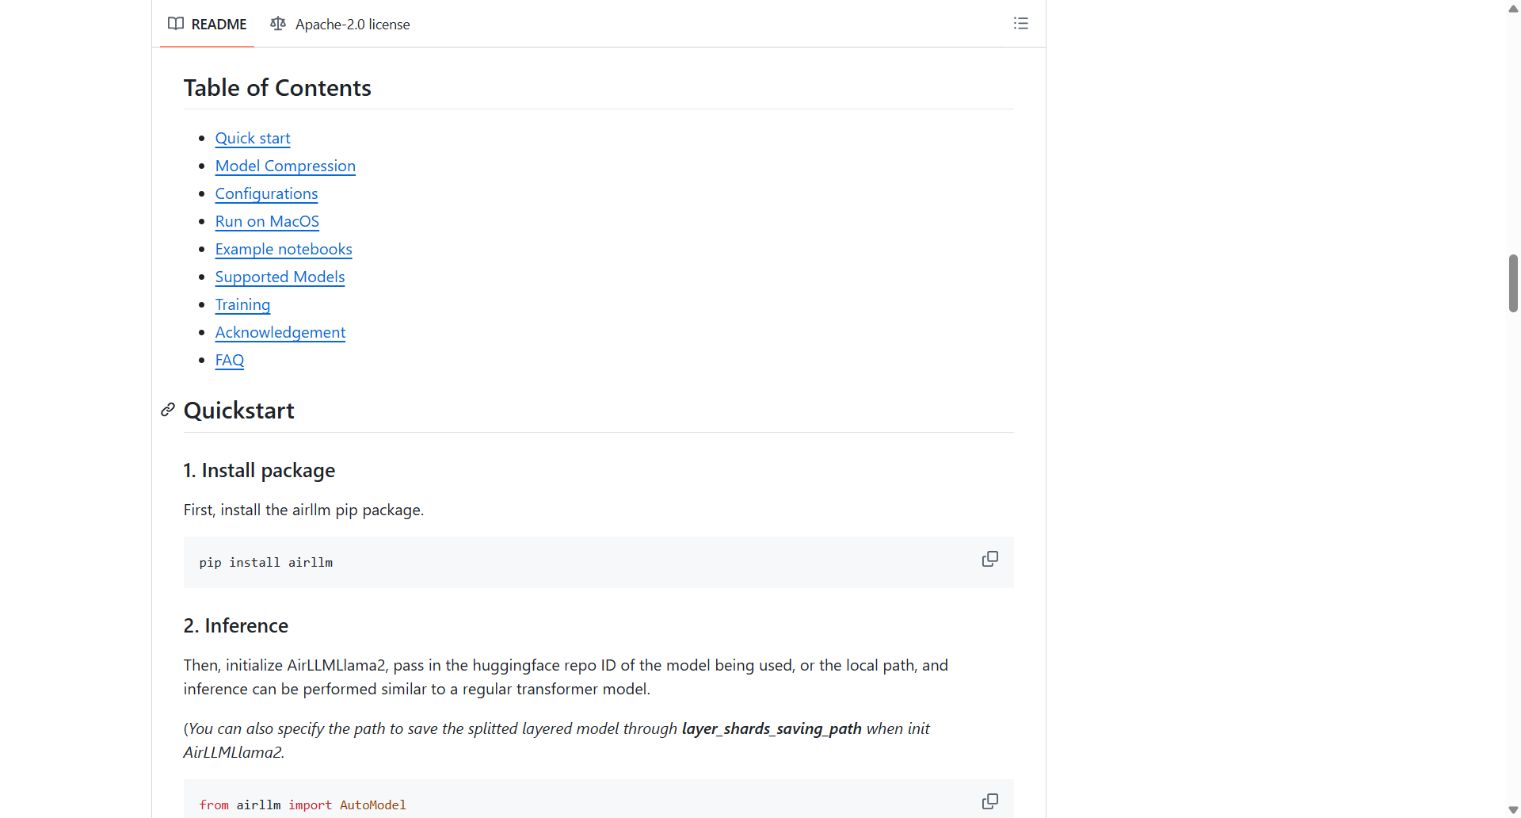
Use the package’s installation metadata for dependency details rather than blindly installing the repository’s root requirements file. Start without optional compression packages. Adding more libraries before a baseline works makes failures harder to diagnose.
Step 5: Choose a Small Model and Record Its Revision
Use Qwen2.5-1.5B-Instruct for a first smoke test. Qwen’s model card identifies it as a 1.54-billion-parameter instruction model with an Apache 2.0 license. Its purpose here is to check your setup, not to demonstrate a 70B model’s quality.
Review its Files tab before downloading. This recipe uses the model repository revision checked on 14 October 2026. Save this as download_model.py:
from pathlib import Path
from huggingface_hub import snapshot_download

model_path = snapshot_download(
    repo_id="Qwen/Qwen2.5-1.5B-Instruct",
    revision="989aa7980e4cf806f80c7fef2b1adb7bc71aa306",
    allow_patterns=["*.json", "*.safetensors", "*.txt", "*.model"],
)
Path("model-path.txt").write_text(model_path, encoding="utf-8")
print("Saved local model path to model-path.txt")
python download_model.pyThe Hugging Face download documentation explains revision-pinned snapshots and file filters. The filters intentionally select the starter model’s configuration, tokenizer and safetensors files; they are not a universal list for every architecture. Do not modify files inside the shared Hub cache by hand.
Security boundary: AirLLM’s model-selection code and tokenizer loading enable remote-code trust in some paths. A safetensors file is not a guarantee that all model-related Python code is safe. Use an official, reviewed model repository and pinned revision; do not run unfamiliar models in an environment containing valuable credentials.
Step 6: Write a Short AirLLM Inference Script
Save the following as run_airllm.py in the same directory. It loads the recorded local snapshot, requests only 32 new tokens and reports generation time separately from initial model preparation.
from pathlib import Path
import time
import torch
from airllm import AutoModel

if not torch.cuda.is_available():
    raise RuntimeError("CUDA is unavailable; fix Step 3 before continuing")

model_path = Path("model-path.txt").read_text(encoding="utf-8").strip()
if not Path(model_path).is_dir():
    raise RuntimeError("Model snapshot is missing; repeat Step 5")

load_start = time.perf_counter()
model = AutoModel.from_pretrained(
    model_path,
    device="cuda:0",
    dtype=torch.bfloat16 if torch.cuda.is_bf16_supported() else torch.float16,
    max_seq_len=256,
    layer_shards_saving_path=str(Path("layer-cache").resolve()),
    delete_original=False,
)
print("Preparation seconds:", round(time.perf_counter() - load_start, 2))

messages = [{"role": "user", "content": "Explain what an SSD does in two sentences."}]
prompt = model.tokenizer.apply_chat_template(
    messages, tokenize=False, add_generation_prompt=True
)
inputs = model.tokenizer(prompt, return_tensors="pt", padding=False)
input_ids = inputs["input_ids"].to("cuda:0")
if input_ids.shape[1] + 32 > 256:
    raise ValueError("Shorten the prompt to stay within this experiment's limit")

torch.cuda.synchronize()
torch.cuda.reset_peak_memory_stats()
start = time.perf_counter()
with torch.inference_mode():
    result = model.generate(
        input_ids,
        max_new_tokens=32,
        do_sample=False,
        use_cache=True,
        return_dict_in_generate=True,
    )
torch.cuda.synchronize()
elapsed = time.perf_counter() - start
new_tokens = result.sequences[0, input_ids.shape[1]:]
print(model.tokenizer.decode(new_tokens, skip_special_tokens=True))
print("New tokens:", new_tokens.numel())
print("Generation seconds:", round(elapsed, 2))
print("New tokens/second:", round(new_tokens.numel() / elapsed, 2))
print("Peak allocated GiB:", round(torch.cuda.max_memory_allocated() / 1024**3, 2))
The script follows the package’s generation interface, but adds a bounded prompt and separates the reply from the input. For this small Qwen starter it selects BF16 when supported, otherwise FP16; do not assume that fallback is numerically safe for a different, much larger model. Qwen uses a chat template; the Transformers chat-template guide explains why formatting matters. These checks do not make the generated answer accurate.
The reviewed AirLLM implementation supports the device, layer-cache and deletion options used above. We checked the script’s syntax and its control flow with test doubles, not a downloaded model or real CUDA runtime. Hardware validation remains necessary.
Step 7: Run It and Decide Whether the Result Is Useful
python run_airllm.py
python -m pip freeze > requirements-tested.txt
nvidia-smi
Expected result: a brief explanation, preparation and generation timings, a new-token count and a PyTorch memory figure. Initial splitting may take longer than subsequent starts. An answer stopping after 32 tokens can be incomplete; that is intentional for the first check.
Do not label these measurements a benchmark of the whole machine. The generation timer includes the work performed during that call, while preparation is reported separately. PyTorch’s peak allocated memory excludes some driver, library and other-process usage. Compare it with nvidia-smi, and record free RAM and disk space too.
A practical evaluation uses three public prompts: a short explanation, a structured list and a small code question you can check manually. Repeat them with the same revision and settings. Record whether the answers are correct enough for your task, not just whether the process completes.
For a daily assistant, set a realistic waiting-time limit before scaling up. A smaller model that answers within that limit may be more useful than a large model you rarely finish querying. AirLLM is worth considering when access to a particular larger model matters more than conversational speed.
Step 8: Scale Carefully and Check Offline Use
Do not immediately replace the starter with the largest name in the README. Choose a model for a specific task, verify its architecture and dependencies, then inspect its checkpoint and license. Meta’s official Llama 3.3 70B model card is one place to assess a 70B option; access and license requirements apply. Log in or approve terms yourself if required, and keep access tokens out of scripts and screenshots.
For another model, use a separate directory and update the repository ID, revision, download filters, tokenizer assumptions and storage plan together. A successful 1.5B smoke test does not establish that a 70B run will fit in RAM, VRAM or available disk space.
After the starter completes an online run, try this Hub-offline check in a new process:
HF_HUB_OFFLINE=1 HF_HUB_DISABLE_TELEMETRY=1 python run_airllm.pyHugging Face documents these environment variables: Hub-offline mode relies on available cached files, and disabling telemetry addresses supported Hub-library reporting. They are not a firewall for all software. For stronger privacy, review dependencies and logs, use public test data, then test in an appropriately isolated environment.
This recipe creates no web server or public endpoint. If you later wrap it in a service, local model execution does not supply authentication, rate limits or secure hosting. Treat that as a separate engineering task.
AirLLM Troubleshooting: When to Stop
| Problem | Check first | Sensible next step |
|---|---|---|
| CUDA is unavailable | Active environment, PyTorch build and driver | Fix compatibility before downloading more weights |
| Out-of-memory failure | Free VRAM, host RAM, prompt length and other processes | Use a smaller model or shorter request; do not promise 4GB is sufficient |
| Split fails or weight file looks incomplete | Free storage, interrupted downloads and checkpoint integrity | Recover the affected model safely; do not erase all caches indiscriminately |
| Access denied on a gated model | Official access approval and token permissions | Use an accessible model or complete the proper approval flow |
| Import or architecture error | Package versions and exact model support | Keep the environment record and review the official issue tracker |
| Slow but valid output | Disk activity, model size and repeated-request timing | Return to a smaller model if it meets the task sooner |
| Offline run requests missing files | Local snapshot and caches | Complete the necessary download online, then repeat the check |
Stop experimenting when the machine becomes unstable, free space is critically low or recovery requires deleting files you have not identified. Include versions and a redacted traceback in a report to the official AirLLM issue tracker. Never upload tokens, confidential prompts or customer documents to explain a failure.
Who Benefits Most from AirLLM?
AirLLM is most interesting for learning and occasional model evaluation where GPU capacity is the limiting resource. Its appeal is access to experiments you could otherwise rule out on VRAM alone. Storage, latency and compatibility can still rule them out.
It is a less obvious choice for a busy customer-facing chatbot, a coding agent that makes frequent calls or a shared service requiring predictable throughput. For those workloads, measure a smaller model in a conventional local runtime first, or compare supported hosted inference costs. An impressive parameter count is not a substitute for the right operating characteristics.
FAQ
Can AirLLM run the actual ChatGPT model on my computer?
No. AirLLM does not provide the proprietary model weights behind ChatGPT. You must choose an accessible model whose architecture, files and license are suitable for local use. A local instruction model is not automatically equivalent to a hosted proprietary model.
Do I need to prepare a training dataset for this setup?
No. This walkthrough runs inference with already trained model weights and a short prompt. Preparing a dataset is a separate task for fine-tuning or training; downloading weights does not train a new model.
Does AirLLM compression preserve the original weights unchanged?
No. Its optional 4-bit and 8-bit compression uses weight quantization. Leaving compression off is a different configuration. Compare output quality on your own task and do not assume a speed claim or small reported quality change applies to every model.
Can AirLLM fine-tune models as well as run inference?
The current project includes separate adapter-training examples for particular architectures. That is not what the eight-step inference recipe does, and it is not the same as pretraining a model from scratch. Check the training example, model requirements, data permissions and evaluation plan before attempting that separate workflow.
Related Techmixer Guides
- AI tools and practical workflows for choosing a useful task before a model.
- Learn AI engineering from scratch for the surrounding development skills.
- Train an LLM from scratch for data preparation and training distinctions.
- Oracle Cloud AI server setup for a separate CPU-hosting route and its limits.
- FreeLLMAPI prototyping guide for the tradeoffs of hosted API access.
Our Take
AirLLM is a useful reminder that VRAM is not the only way to arrange an inference workload. We would begin with one small model, one task and a written waiting-time limit. Scale only when the larger model solves a problem the smaller one cannot. For many readers, the valuable outcome is learning how to run and assess a local model, not proving that the biggest possible checkpoint can load.
Last reviewed: 14 October 2026. By km chia. Techmixer reviewed AirLLM 4.0.0 package metadata and source, model documentation and the supporting installation references; captured the official setup page; and checked the example’s syntax and control flow with test doubles. We did not install AirLLM on a CUDA machine, download model weights, test generation, measure throughput or verify a 70B run. The screenshots show documentation, not a successful local inference session.