God’s Eye View setup is straightforward if you start with the keyless version: clone the official repository, install its locked dependencies, run the setup doctor, and open the local app. You can also use the Pinokio installer. API keys are optional for the first launch; add them only when you know which map or data feature you need.
Quick answer
For a terminal install, use Node.js 24.14.0+ (24.x) or 26.x, then run git clone, npm ci, npm run doctor, and npm run dev. Open http://localhost:4173 and choose a first view. For a guided installer, use Pinokio 8.2 or later. Do not buy or create API keys until the keyless globe is working.
What to know first
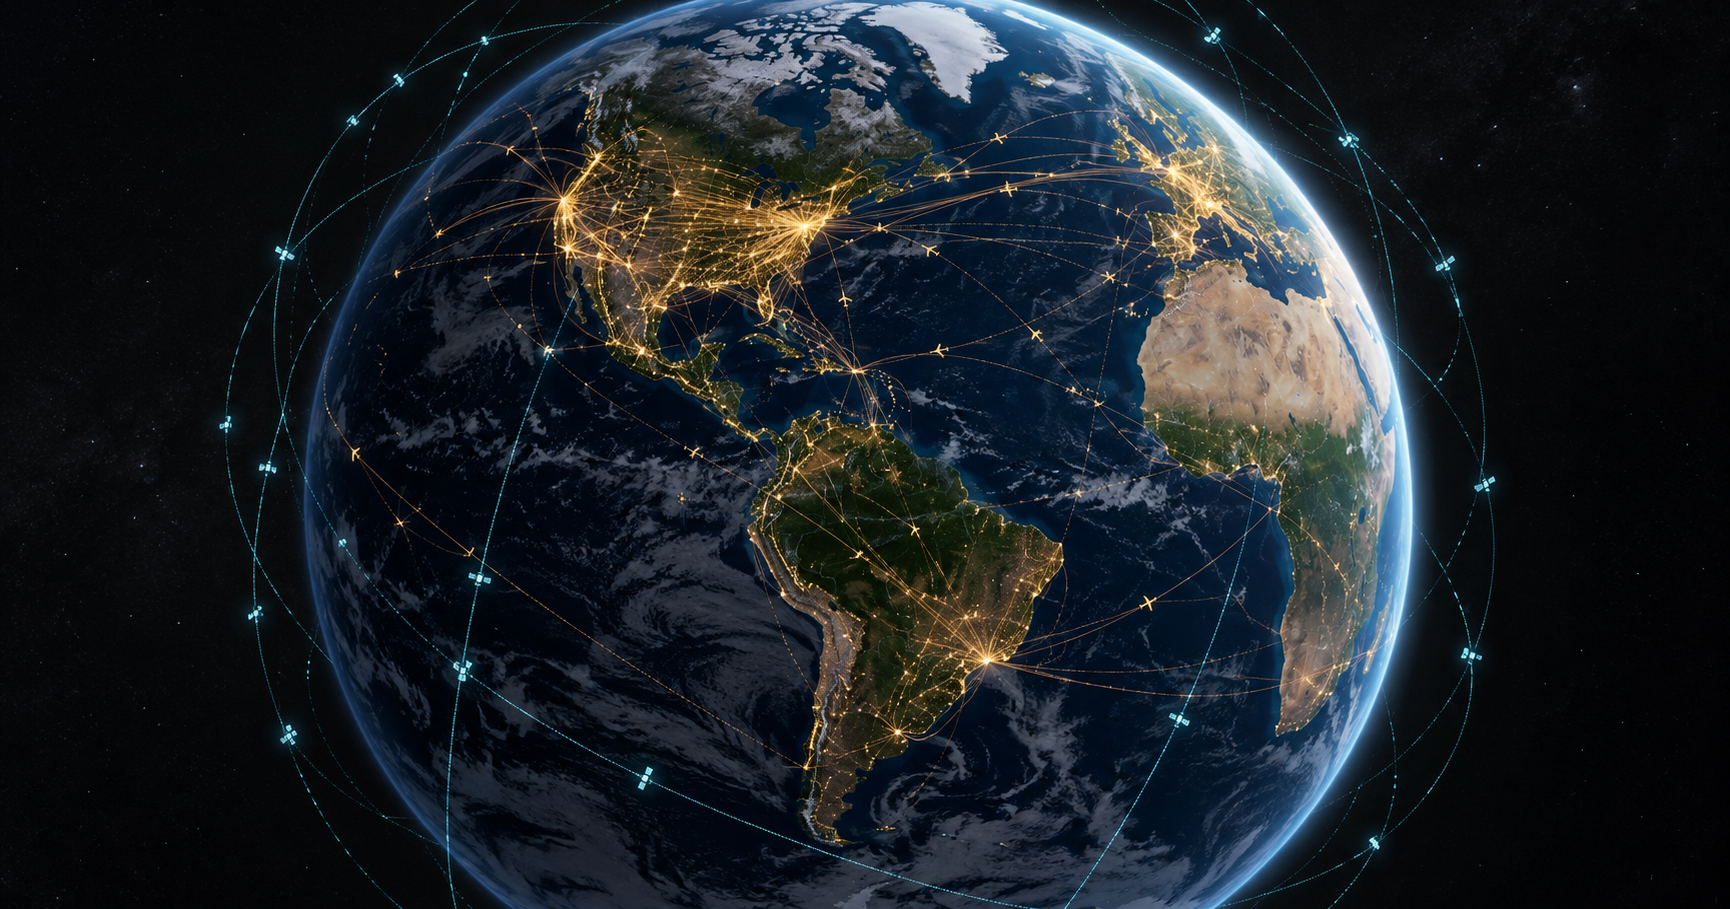
God’s Eye View is an open-source, browser-based spatial-data explorer by Bilawal Sidhu and contributors. It puts public flight, satellite, earthquake, camera, and other feeds around a globe. The cinematic presentation does not make it a private surveillance system: the project is built around public or licensed feeds, and not every layer represents a live observation.
- Best starting point: install it locally and explore without keys. The project says the default map uses Esri satellite imagery with an OpenStreetMap fallback.
- What costs money: the repository is MIT-licensed, but direct Google Maps access and OpenAI voice can be metered. Other provider plans have their own eligibility and quota rules.
- What was checked here: on Windows with Node 24.14.1, Techmixer ran
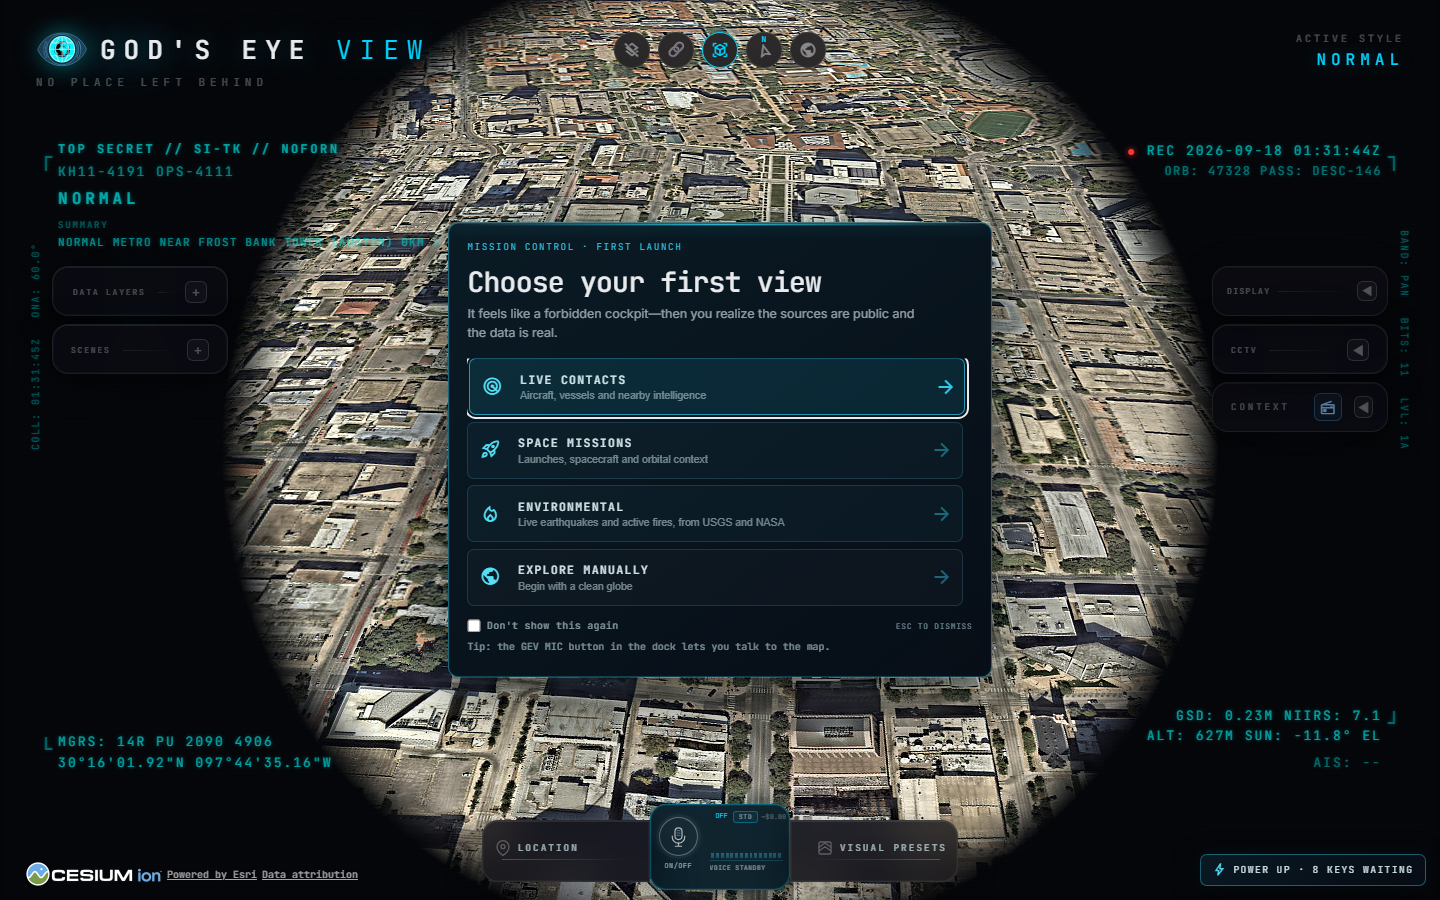
npm ci,npm run doctor, andnpm run dev, then captured the first-run and provider-settings screens on 18 September 2026. We did not configure paid API keys or verify the accuracy of individual live feeds.
Before you install
The terminal route is for readers comfortable using a command prompt or PowerShell. You need Git, npm, and a supported Node.js release. The project currently requires Node 24.14.0 or later in the 24.x line, or Node 26.x. If your work machine has an older Node release, use a version manager or choose the Pinokio route instead of changing a shared environment blindly.
Use the official GitHub repository as the source of installation commands. The app makes network requests to third-party data providers, so read its security notes and data-source notes before relying on a layer for decisions.
God’s Eye View setup in 8 steps
1. Check Node, npm, and Git
In PowerShell or a terminal, check the installed versions first. A supported Node version matters because the repository enforces its engine range.
node --version
npm --version
git --version
2. Clone the official repository
Choose a folder where you keep projects, then run the clone command below. It creates a new gods-eye-view folder.
git clone https://github.com/bilawalsidhu/gods-eye-view.git
cd gods-eye-view
3. Install the locked dependencies
Run npm ci, which uses the project’s lockfile. If it fails, check the Node version and network access before changing packages or deleting the lockfile.
npm ci4. Run the setup doctor
The doctor checks the Node and npm versions, installed dependencies, and optional provider configuration. A missing OpenAI, vessel, or fire key is expected on a fresh keyless setup, not necessarily an installation error.
npm run doctor5. Start the local server
Launch the development server and leave that terminal open while you use the app. The repository lists http://localhost:4173 as its local address; check the terminal output if another process occupies that port.
npm run dev6. Choose a first view
Open the local address in a modern browser. On our test install, the first-run panel offered Live Contacts, Space Missions, Environmental, and Explore Manually. Choose Explore Manually if you first want to learn the controls without assuming every layer is active.
7. Turn on one layer and verify its source
Start with one keyless layer, such as flights, satellites, or earthquakes. Open its panel, inspect timestamps and labels, then compare a sample with the listed source. The project notes that flight data is interpolated between reports; simulated traffic is not a live vehicle tracker.
8. Add an optional provider key only if needed
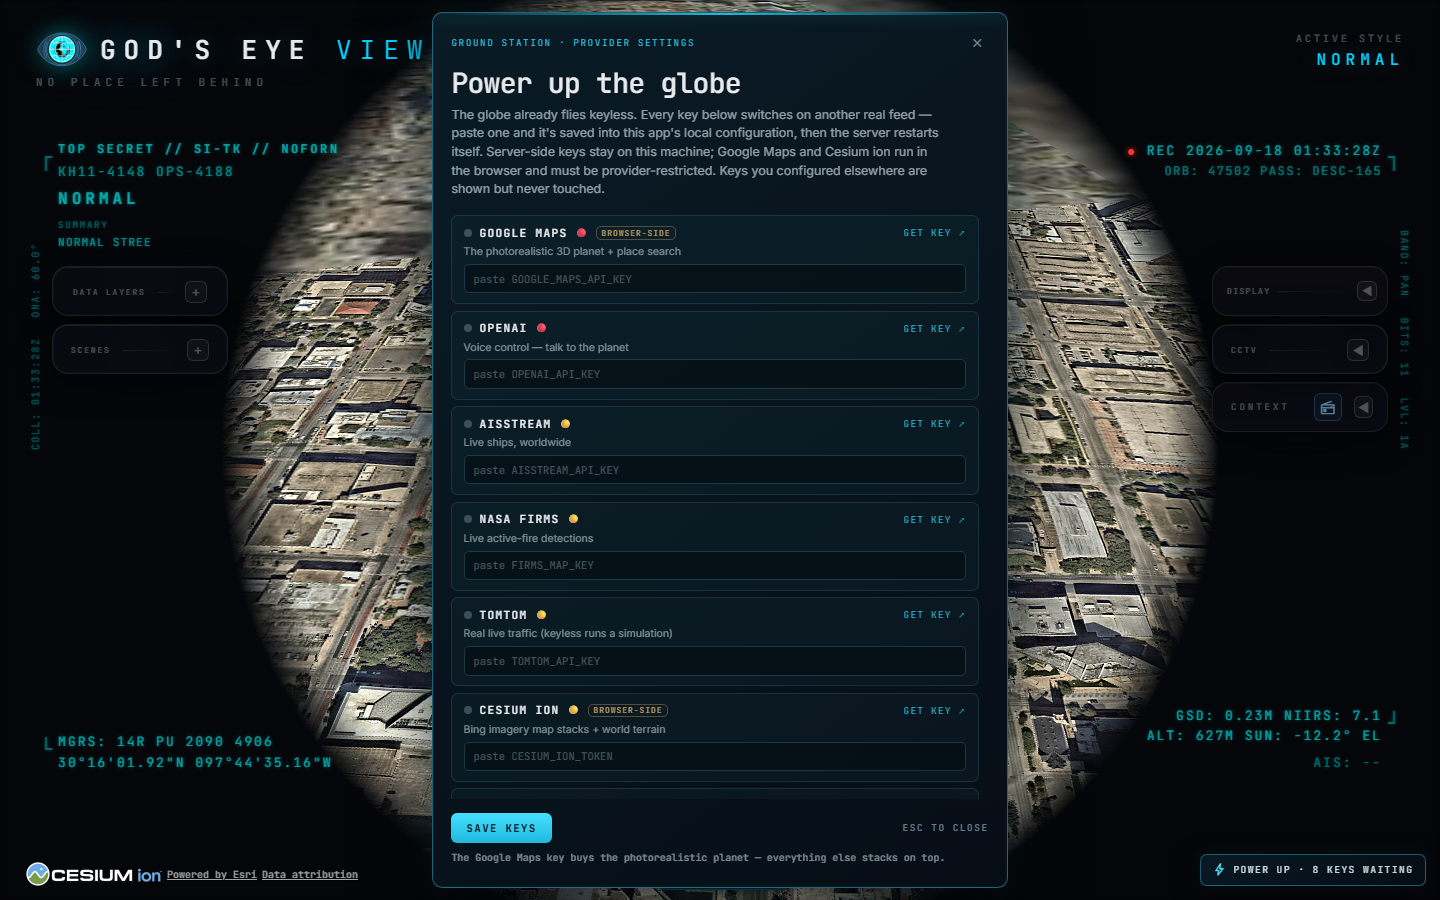
Open the POWER UP chip in the lower-right corner, or add ?setup=1 to the local URL to reopen Provider Settings. The panel explains what each key unlocks. Save a key only after checking that provider’s current plan, quota, restrictions, and billing controls.
Prefer a guided installer? Use Pinokio
- Install or update Pinokio to version 8.2 or later.
- Open the God’s Eye View listing in Pinokio from the project README, then select Install.
- Select Start when installation finishes and open the local app. If an older Pinokio install fails, update Pinokio before troubleshooting the app.
These Pinokio steps are based on the project documentation; our hands-on check used the terminal route. The project also warns against using an older Pinokio 8.0.40 native Configure panel for secrets because of a credential-handling issue. Use the app’s own POWER UP panel and consult the current security notes.
Which optional keys should you add?
- Cesium ion: an optional route to more 3D imagery and terrain. Its Community eligibility and quotas depend on current provider terms; a browser-side token must be restricted.
- Google Maps: direct photorealistic 3D and place search. This is a billing-enabled, metered route. Restrict the key and set provider-side usage controls.
- OpenAI: voice control and AI summaries. It is not needed to browse the globe; API usage can incur charges.
- AISStream, NASA FIRMS, and TomTom: optional ship, active-fire, and live-traffic-flow data. The keyless traffic layer is a simulation.
The app stores locally entered terminal-install keys in an ignored .env file. That file is plaintext on your machine, even though it is excluded from Git. Do not commit it, share screenshots of keys, or expose the local server to the internet without following the maintainer’s security guidance. In-browser Google Maps and Cesium tokens need provider restrictions because they cannot be treated as private server-side secrets.
If setup does not work
- Unsupported Node version: compare
node --versionwith the repository engine range; then rerunnpm ciandnpm run doctor. - App page does not open: check that
npm run devis still running and use the exact local URL shown in the terminal. - Blank or incomplete map: try the keyless basemap, check network access to the map provider, and give tiles time to load. Use the project issue tracker if the browser console reports a reproducible error.
- Voice button is unavailable: this is expected without an OpenAI key; the core map should still run.
- Missing ships or fire detections: verify whether that layer needs a provider key and whether the provider has data for the region and time you are viewing.
Stop troubleshooting and review the official issue tracker if a clean supported install repeatedly fails. Do not paste API keys or a complete .env file into an issue or chat.
Where this tool is useful, and where it is not
A practical use is exploring how different public signals relate spatially: choose one area, enable one or two layers, and follow their source links. It can also be a visual teaching aid for understanding how an open-source front end combines feeds. It should not be treated as an authoritative safety, emergency, or intelligence system. Coverage varies, feeds can lag, and some map elements are simulations or estimates.
If you want a different public-feed dashboard, Techmixer also has an OSIRIS overview. For more browser and desktop tool guides, see Software Guides. The optional voice feature fits within our broader AI Tools coverage, but AI is not required for the basic God’s Eye View setup.
FAQ
Do I need an API key to start God’s Eye View?
No. The repository supports a keyless start with the Esri satellite basemap and several public-data layers. Provider keys are optional upgrades for specific feeds, 3D imagery, search, or voice.
Can I install God’s Eye View on Windows?
Yes. The project documents a Pinokio path for Windows, macOS, and Linux. The terminal path uses Git, Node.js 24.14.0 or later in the 24.x line (or Node 26.x), and npm.
Voice requires an OpenAI API key. Without one, the globe still runs, but the microphone feature is unavailable. OpenAI API usage may cost money.
Are all moving objects on the map live?
No. The project combines live or regularly refreshed public feeds with simulations and estimates. Its traffic vehicles are simulated; camera poses and launch trajectories are estimates. Check the source and timestamp of a layer before relying on it.
Can I make the local app public on the internet?
Not without reviewing the project security guidance and adding appropriate authentication and provider restrictions. The default setup is designed to stay on localhost.
Related Techmixer guides
Our take
The strongest way to try God’s Eye View is to resist the cinematic pitch for five minutes: launch it without keys, open one feed, inspect the source and timestamp, and decide whether the representation answers a real question. The local install itself worked in our Windows/Node 24.14.1 check. We did not validate individual flight, camera, ship, or satellite positions, and we did not test paid providers or the Pinokio route.
Last reviewed: 18 September 2026. Setup steps were checked against the official repository and our local install at commit 0d41b6b. Provider availability, fees, and repository instructions can change; check the linked official sources before setup.